Wallpaper installation can be a transformative and rewarding DIY project, but achieving a polished look requires careful planning and precise execution. When transforming your space, prepasted removable wallpaper is convenient and versatile. One critical decision you’ll face during installation is opting for a butt joint or an overlap. In this comprehensive guide, we’ll take you through the step-by-step process of installing butt joint style wallpaper, covering everything from preparation to the finishing touches, helping you achieve a seamless and professional look.
What is butt joint Installation?
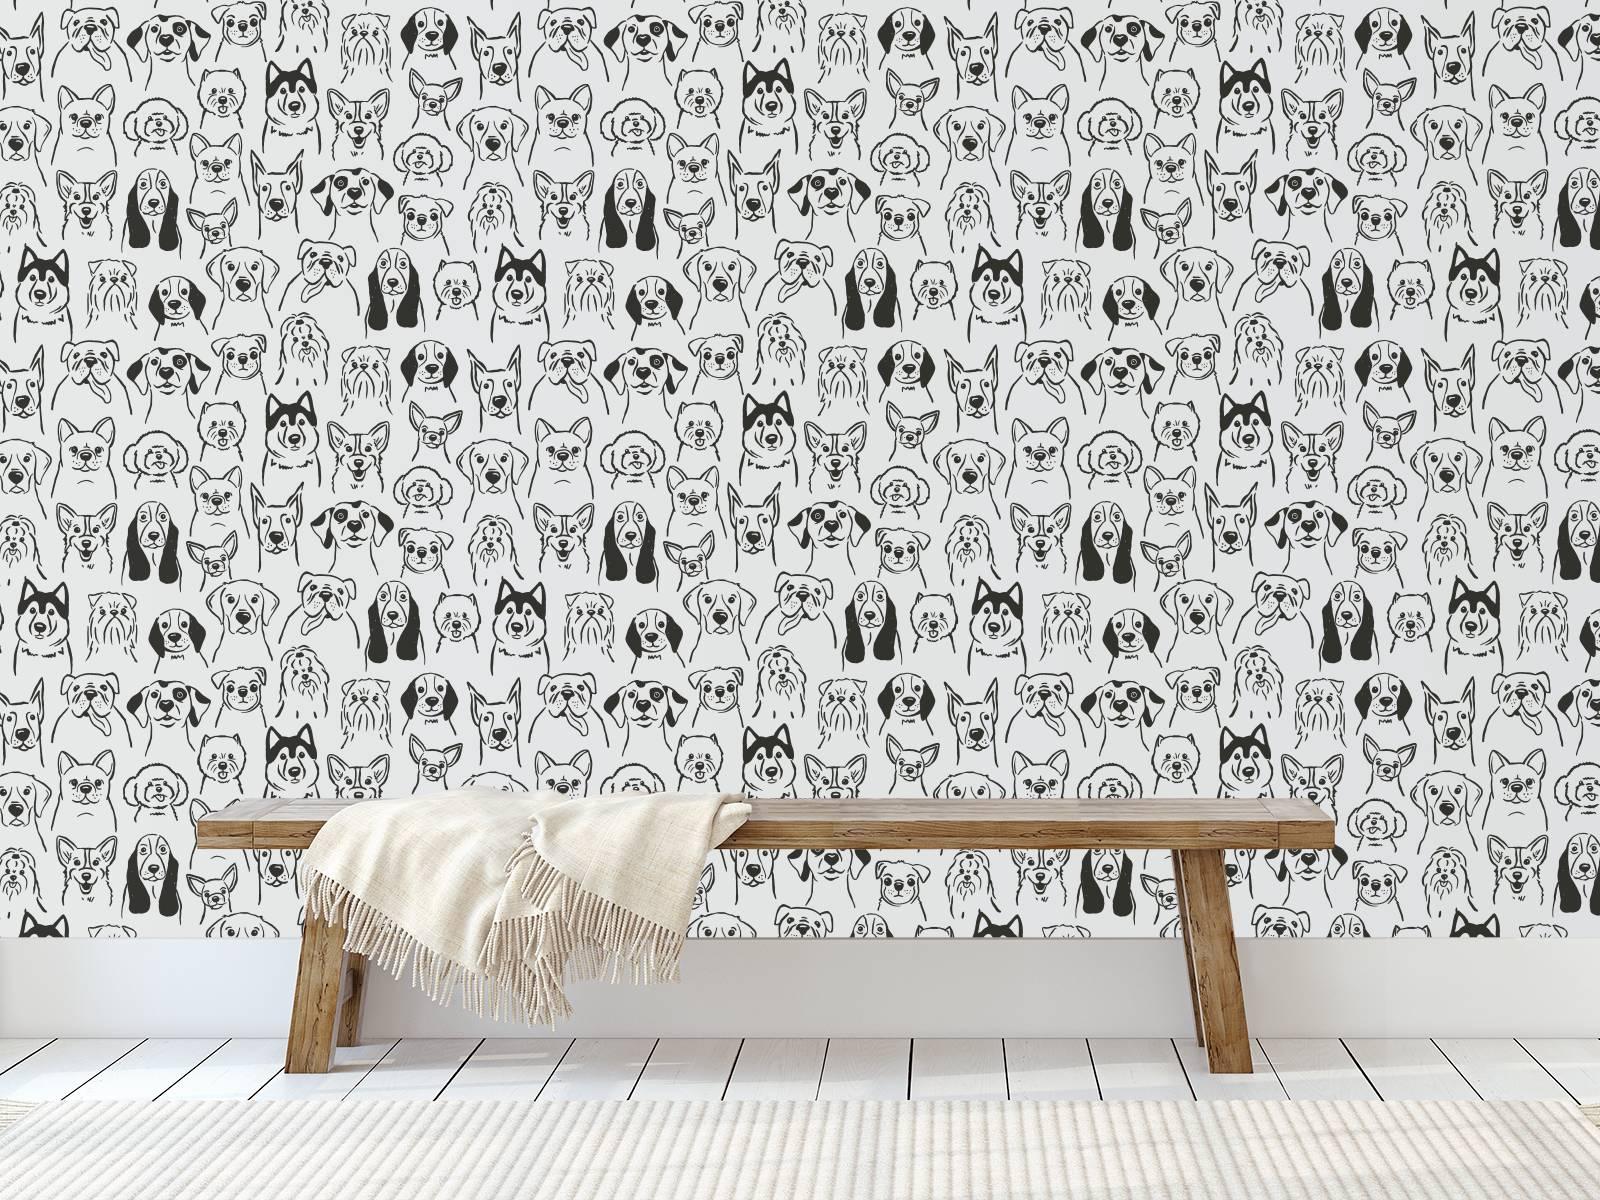
A butt joint involves aligning the edges of two wallpaper panels without overlapping. This method creates a nearly invisible seam when done correctly. Butt joints like LoveVsDesign wallpaper will give you the most professional look and are usually preferred by homeowners. However, the wallpaper must be manufactured to be installed with a butt joint vs an overlap, so double-check the installation instructions to ensure you know what type of installation your wallpaper will require.
1. Gather Your Tools and Materials
Before you begin, make sure you have the necessary tools and materials. Having the right materials as well as tools will help eliminate installation mistakes.
- Wallpaper rolls
- Spray bottle with water or paint tin with a paint roller and water
- Measuring tape
- Level
- Utility knife or wallpaper cutter
- Wallpaper smoother or brush
- Plastic smoother or sponge
- Step ladder
- Pencil
- Drop cloth or plastic sheeting
2. Prepare Your Walls
- Surface Inspection:
Inspect the walls for any imperfections. Patch and sand holes or cracks and ensure the surface is smooth. Wallpaper will help hide some imperfections in the wall, but you will get the best results with a smooth surface.
- Primer:
If your walls are porous or have been freshly painted, applying a wallpaper primer will help the wallpaper adhere better.
- Measurements:
Measure your wall height and add a few inches to allow for trimming. Unroll the wallpaper and measure and mark the length needed for each strip.
3. Cut and Match Patterns
- Cut Strips:
Cut the wallpaper into manageable strips using your measurements, allowing extra at the top and bottom for adjustments.
- Match Patterns:
If your wallpaper has a pattern, ensure each strip aligns correctly before cutting. This is crucial for a seamless look.
4. Activate Wallpaper Adhesive
1. Read Instructions:
Read the manufacturer’s instructions for your specific wallpaper and adhesive. Some wallpapers come prepasted, while others require adhesive. Your wallpaper should be prepasted so double-check that it is indeed prepasted and already has the adhesive adhered to the back of the wallpaper.
- Wet Adhesive:
Apply water evenly to the back of the wallpaper using a water bottle or paint roller. Make sure you wet each part of the wallpaper and do not miss any spots as any spots that are missed will not adhere to your walls.
- Book the Wallpaper:
“Booking” refers to allowing the adhesive to soak into the wallpaper. Fold the pasted sides of the wallpaper together, creating a booked accordion fold. Let it sit for 3-5 minutes to allow water to activate the adhesive.
5. Hang the Wallpaper
- Find the Starting Point: (Most Important Step)
Use a level and a pencil to draw a straight, vertical line at your starting point which should be 1 to 2 inches less wide than your first wallpaper panel. This is usually in a less conspicuous area, like behind a door or corner. This is the most important step as most walls are not perfectly square. Using a level to create a straight line will ensure that the first panel will be perfectly straight, setting you up for and smoothly installing the additional panels. - Hang the First Strip:
Align the edge of the wallpaper with the drawn line. Smooth out the wallpaper from top to bottom using a plastic smoother or sponge, eliminating air bubbles. - Match Patterns and Butt Joints:
If your wallpaper has a pattern, ensure that each strip aligns correctly. For butt joints (seams without overlapping), align the edges precisely. This will give you a seamless look where, if done right it should be difficult to know where one piece ends and the other begins.
6. Trim Excess Wallpaper
- Trim at the Top and Bottom:
Use a sharp utility knife or wallpaper cutter to trim excess wallpaper at the ceiling and baseboard. A straight edge can help guide your cuts.
2. Trim Around Obstacles:
For outlets, switches, or other obstacles, make minor, precise cuts, and use a plastic smoother to press the wallpaper into place.
7. Repeat the Process
Continue Hanging Strips:
Repeat the process for each strip, ensuring a snug fit and matching patterns as you go. Make sure there is no gap between panels as well, and you are not forcing the panels to overlap.
8. Final Touches
- Smooth Seams:
Use a wallpaper smoother or sponge to smooth seams and eliminate air bubbles.
- Clean Up Edges:
Wipe away excess adhesive with a damp sponge or cloth. This is particularly important for textured or delicate wallpapers.
9. Let it Set
Drying Time:
Allow the wallpaper to dry completely according to the adhesive manufacturer’s instructions. Keep the room well-ventilated during the drying process.
10. Admire Your Handiwork
Step back and admire your newly wallpapered space. Take pride in the meticulous effort you’ve put into transforming your walls. With patience and precision, you’ve achieved a stunning result that adds personality and style to your home.
Installing wallpaper can be a super fun and rewarding DIY project. Remember to follow the manufacturer’s instructions, measure accurately, and take your time during installation. With patience and attention to detail, you can transform your space with stunning, seamless wallpaper that suits your style. It always gives you a sense of pride to look back at a well-done project, and wallpaper is the best because you will see your handy work each time you enter the room. So don’t hesitate any longer. Find the perfect wallpaper design for your house and get started.
Author Info: Eric Mortensen
Eric is one of the founders of and has worked with tens of thousands of customers to create the perfect wallpaper for their homes.